Introduction: Homemade Bread
Baking homemade bread is more than just a recipe—it’s an experience. There’s something deeply satisfying about kneading dough, waiting for it to rise, and then pulling a warm, golden loaf from the oven. The smell alone fills your home with comfort and warmth, like a hug from the inside out. If you’ve ever dreamed of making your own bread from scratch, you’re not alone. Many have fallen in love with the art of bread-making for its simplicity, the satisfaction of creating something from nothing, and, of course, the joy of sharing freshly baked bread with loved ones.
This guide will walk you through the entire process of baking homemade bread, from gathering the essential ingredients to mastering techniques that result in a perfect loaf. Whether you’re a seasoned baker or a beginner, this step-by-step guide will help you create a delicious, soft, and perfectly risen bread every time. Ready to get your hands into some dough? Let’s dive in!
Essential Ingredients for Homemade Bread
To bake the perfect homemade bread, you’ll need a few key ingredients that are the foundation for your loaf. These ingredients work together to create the right texture, flavor, and rise. Here’s a breakdown of each essential ingredient:
Yeast – The Secret to a Perfect Rise
- Why Yeast Matters: Yeast is a living organism that ferments the sugars in the dough, producing carbon dioxide gas, which makes your dough rise and gives it a light texture. There are two common types of yeast: active dry yeast and instant yeast.
- How to Use Yeast: Yeast must be activated before use. If using active dry yeast, dissolve it in warm water (not hot!) and let it sit for about 5-10 minutes until it becomes frothy. Instant yeast doesn’t need this step and can be added directly to the flour.
Flour – The Base of Your Bread
- Bread Flour vs. All-Purpose Flour: Bread flour has a higher protein content, which is crucial for developing gluten, giving your bread its chewy texture. All-purpose flour can work, but bread flour yields the best results.
- Whole Wheat Flour: If you’re looking for a denser, more wholesome loaf, you can substitute some of the bread flour with whole wheat flour.
Water and Salt – Balancing for Perfection
- Water: The water hydrates the flour and helps to activate the yeast. Be mindful of the water temperature—too hot, and you’ll kill the yeast; too cold, and it won’t activate properly.
- Salt: Salt not only enhances the flavor but also controls yeast activity. Without salt, your dough might rise too quickly and result in a dense loaf.
Optional Additions – Elevating Flavor
- Olive Oil: Adds moisture and richness to your bread, resulting in a softer texture.
- Honey or Sugar: These can slightly sweeten the bread and help with browning.
- Butter: For a rich, slightly indulgent flavor and soft crumb.
Step-by-Step Guide to Making Bread Dough
Making bread dough is a simple process, but it requires some patience and attention. Follow these steps carefully for a soft, pillowy loaf.
Mixing the Dough – The First Step
- Combine Your Dry Ingredients: Mix the flour, salt, and yeast (if using instant yeast). Make a well in the center for the wet ingredients.
- Add Liquids: Pour in the warm water and optional olive oil or honey. Mix the ingredients until they come together into a rough dough.
Kneading the Dough – Developing the Gluten
- Why Kneading Matters: Kneading helps develop the gluten network in the dough, which gives bread its structure and chewiness.
- Kneading Techniques: Knead the dough for about 8-10 minutes by hand, or 5-7 minutes with a stand mixer using a dough hook, until the dough is smooth and elastic.
- Test for Gluten Development: To check if your dough is ready, stretch a small piece of dough between your fingers. If it forms a thin membrane (the “windowpane” test), it’s ready.
Proofing the Dough – Let it Rise
- First Proof: Place your dough in a lightly oiled bowl and cover it with a clean towel or plastic wrap. Let it rise for about 1-2 hours, or until it doubles in size.
- Second Proof (optional): Once shaped, allow the dough to rise again for 30-60 minutes before baking. This helps develop flavor and texture.
Shaping the Dough – Crafting Your Loaf
- Forming the Loaf: Gently punch down the dough to release the air bubbles and shape it into your desired form—round, oval, or baguette.
- Shaping Tips: For a smooth, even loaf, tuck the edges underneath the dough as you form it.
Tips for Perfectly Baking Your Homemade Bread
Now that your dough is ready, it’s time to bake. The baking process plays a crucial role in creating that golden crust and perfect texture.
Baking Temperature – Getting it Just Right
- Ideal Oven Temperature: Preheat your oven to 375°F to 450°F (190°C to 230°C), depending on the type of bread you’re baking. Higher temperatures result in a crispier crust.
- Using Steam: To achieve a crusty exterior, place a pan of hot water in the oven or spritz the bread with water before baking.
Oven Spring – How to Get the Perfect Rise
- What is Oven Spring?: This refers to the final rise your bread undergoes in the first few minutes of baking. To achieve the best oven spring, ensure your dough has risen properly before baking.
- Preheating the Oven: Preheat your oven fully before placing the dough inside to avoid uneven baking.
Using a Dutch Oven – Perfect for Artisan Breads
- Why a Dutch Oven?: The heavy lid traps steam, creating the perfect environment for baking artisan-style bread with a crispy crust and tender crumb.
- How to Use: Preheat the Dutch oven inside the oven, then carefully place the dough inside to bake.
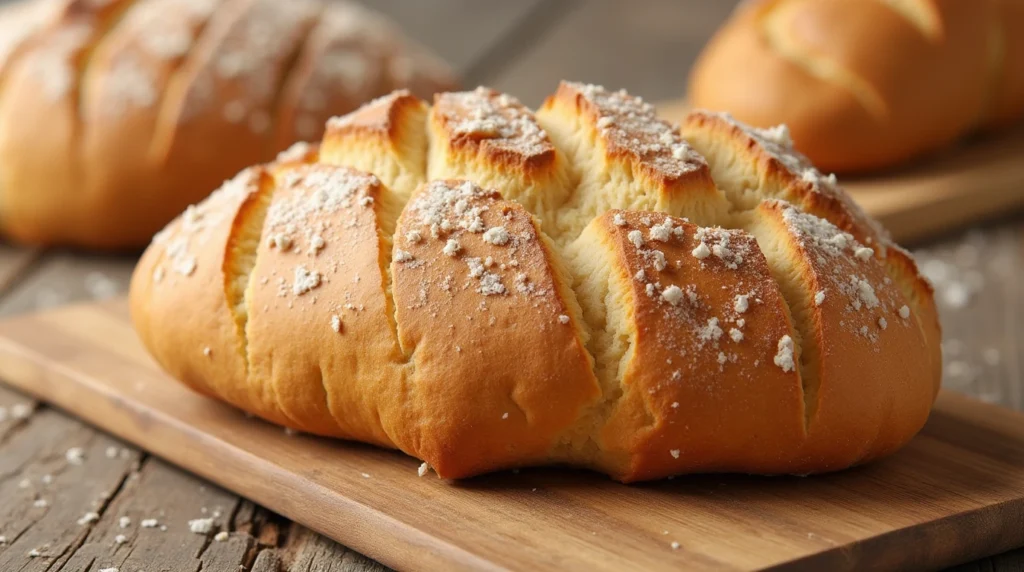
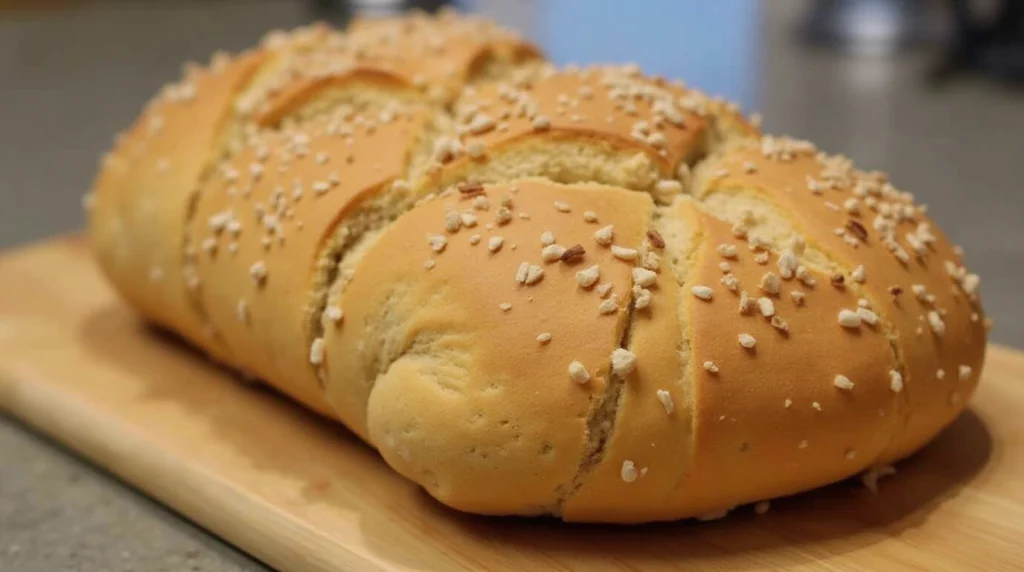
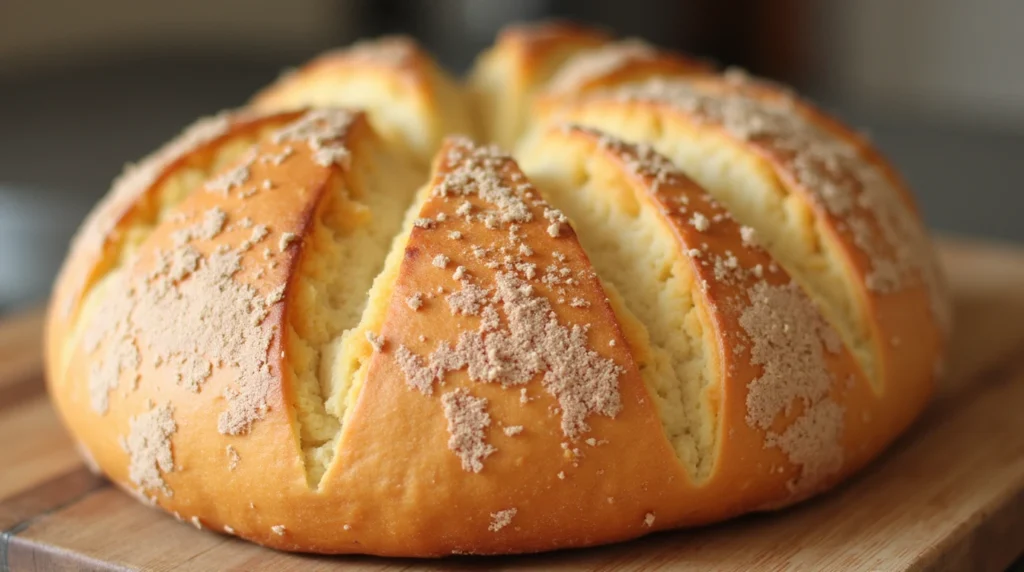
Creating a Crispy Crust – The Secret to Artisan Bread
- Slashing the Dough: Before baking, make a few shallow cuts in the top of the loaf to allow it to expand during baking.
- Baking with Steam: Adding moisture to the oven in the first few minutes of baking helps create a crispy crust.
Common Bread-Making Mistakes and How to Avoid Them
Even seasoned bakers can make mistakes. Here are some common errors and how to avoid them.
Over-Kneading or Under-Kneading
- Under-Kneading: This results in a dense loaf with poor structure. Make sure to knead the dough until it’s smooth and elastic.
- Over-Kneading: Too much kneading can make the bread tough. Watch for the “windowpane” test to avoid overdoing it.
Incorrect Proofing Time
- Under-Proofing: If your dough hasn’t fully risen, the bread will be dense and heavy.
- Over-Proofing: Too much rising can cause the dough to collapse during baking. Make sure to check the dough regularly.
Too High or Low Oven Temperature
- Get Your Oven Temperature Right: Use an oven thermometer to ensure the correct temperature. If your oven runs too hot or cold, your bread won’t bake evenly.
Not Using the Right Flour
- Flour Matters: For the best texture and structure, use bread flour. If you use all-purpose flour, the bread may be too soft or lack structure.
Variations of Homemade Bread You Can Try
Once you master the basic loaf, experiment with these delicious variations:
Sourdough Bread – A Tangy Delight
- How to Make Sourdough: Use a sourdough starter to create that signature tangy flavor. It’s a more time-consuming process but well worth the effort.
Whole Wheat Bread – Healthier and Heartier
- Why Whole Wheat?: This bread is higher in fiber and nutrients. Substitute part of the white flour with whole wheat flour for a healthier loaf.
French Baguette and Ciabatta – Artisan Breads at Home
- How to Make French Baguette: These classic breads require a longer proofing time and specific shaping techniques, but they’re well worth the effort.
- Ciabatta: Known for its airy holes, this Italian bread requires a wet dough and a unique shaping technique.
Multigrain and Rye Bread – For the Ultimate Twist
- Adding Seeds and Grains: Add seeds (like sunflower or sesame) and grains (like oats or rye) for a delicious, textured bread with a nutty flavor.

Essential Ingredients for Homemade Bread
Flour: The Backbone of Your Bread
- How to Choose the Right Flour:
- Bread Flour is ideal for chewy, airy loaves due to its high protein content (about 12-14%).
- Whole Wheat Flour is denser and can make the bread heavy, so it’s often mixed with bread flour.
- Self-Raising Flour is generally used for quick breads like soda bread and doesn’t need yeast.
- Important Tips:
- You can also blend different types of flour for a more complex flavor and texture.
- If you want a rustic feel, opt for a mixture of whole wheat and white bread flour.
Yeast: The Magic Behind Bread’s Rise
- How to Activate Yeast:
- Active Dry Yeast: It needs to be dissolved in warm water (about 110°F / 43°C). Wait 5-10 minutes for the mixture to foam, showing that the yeast is active.
- Instant Yeast: This yeast is more convenient and doesn’t need to be activated beforehand. Simply add it directly to the dry ingredients.
- How to Store Yeast:
- Store instant yeast in a cool, dry place or the fridge to keep it fresh. Once opened, use it within a few months.
- For active dry yeast, if you’re not using it immediately, storing it in the fridge can extend its shelf life.
Step-by-Step Guide to Making Bread Dough
Shaping the Dough: Loaf Styles to Try
- Baguette Shaping Tips:
- For a traditional French baguette, roll the dough into a long, slender shape, then make several diagonal slashes along the top with a sharp knife. This gives the bread its characteristic look and helps it rise in the oven.
- Shaping Ciabatta:
- Ciabatta bread typically has a wetter dough, resulting in a rustic, airy loaf with open holes inside. Shape the dough gently, without deflating it, and let it rise for a bit longer to encourage large air pockets.
- Round Boule:
- A boule is a round, rustic loaf often baked in a Dutch oven for extra texture and rise. Shaping it is simple: form the dough into a ball and tighten the edges underneath.
Proofing the Dough: Best Practices for Rising
- How to Test for Proofing:
- Poke Test: Gently poke the dough with your finger. If it leaves an indentation and doesn’t spring back, it’s ready for the next step.
- Overproofing: If your dough has risen too long, it will collapse when baked. Avoid this by keeping track of the time and temperature.
- Proving in a Warm Area:
- To create an optimal environment for proofing, you can turn your oven on for just a few minutes (set to its lowest setting), then turn it off before placing the dough inside. This will provide gentle heat for the dough to rise.
Tips for Perfectly Baking Your Homemade Bread
Creating a Crispy Crust: Methods for Perfection
- Using a Baking Stone or Steel:
- A baking stone absorbs heat and radiates it evenly, helping your bread develop a perfect crust. Preheat it in the oven for at least 30 minutes before placing the dough on it.
- Adding Steam:
- Steam helps develop a crispy, golden crust. Place a shallow pan of water in the oven or spray the dough with water before baking. For an even more professional result, you can use a Dutch oven with a lid, which traps the steam inside.
Baking Temperature: Understanding the Perfect Heat for Different Breads
- For a Crisp Crust: The higher the temperature, the crispier the crust. Artisan-style breads like baguettes should bake at higher temperatures (450°F / 232°C). However, softer breads such as sandwich loaves do better at a moderate temperature around 375°F (190°C).
- Thermometers for Accuracy:
- Using a kitchen thermometer ensures your bread reaches the perfect internal temperature of around 190°F (88°C) when done.
Common Bread-Making Mistakes and How to Avoid Them
Not Using the Right Flour: How the Wrong Flour Affects Bread’s Texture
- Flour Substitutions:
- While bread flour is usually ideal for a chewy loaf, whole wheat flour will produce a denser texture. All-purpose flour can be used if you’re looking for a lighter loaf.
- Gluten-Free Baking:
- If you’re looking to make gluten-free bread, ensure you’re using the correct flour blend that includes rice flour, potato starch, and tapioca flour. Be mindful that gluten-free bread dough will be stickier than wheat-based dough.
Too High or Low Oven Temperature: Why It’s Crucial to Get It Right
- Temperature Variations:
- Every oven is different, so make sure to get an oven thermometer. This helps avoid the issue of underbaking (which can leave you with raw dough inside) or overbaking (resulting in a dry loaf).
- Oven Preheating:
- Always preheat your oven fully before placing your bread inside. The difference in baking can be drastic, and your dough needs that burst of heat to rise properly.
Variations of Homemade Bread You Can Try
Whole Wheat Bread: Healthy and Nutty Whole Wheat Loaves
- How to Adjust the Recipe:
- Whole wheat flour absorbs more liquid than white flour, so increase the water content by about 2-3 tablespoons per cup of whole wheat flour.
- Texture Considerations:
- Whole wheat bread tends to be denser. To lighten it up, you can replace up to 50% of the whole wheat flour with white bread flour.
Sourdough Bread: Crafting Tangy, Flavorful Sourdough
- Creating the Sourdough Starter:
- A starter is made from equal parts of flour and water, and it must be fed regularly with fresh flour and water. It typically takes about 5-7 days for the starter to become active and bubbly.
- Fermentation Process:
- Sourdough requires longer fermentation times compared to regular yeast bread, often allowing the dough to rise for 12-24 hours in a cool environment. This extended fermentation enhances the tangy flavor and chewy texture.
Conclusion
Baking homemade bread from scratch is a rewarding process that connects you to the simple pleasures of cooking. From choosing the right ingredients to mastering dough techniques and baking tips, you now have all the tools to create the perfect loaf. Don’t be afraid to experiment with different variations to make the bread truly your own. We’d love to hear about your homemade bread experiences! Share your thoughts and questions in the comments below, and happy baking!
FAQ Section
Q: Can I use all-purpose flour for making homemade bread?
A: Yes, but bread flour works best for a chewier texture. All-purpose flour will result in a slightly softer loaf.
Q: How do I know if my dough is ready to bake?
A: The dough should be doubled in size during proofing and feel slightly springy when you press it gently.
Q: Can I bake bread without yeast?
A: Yes, you can use baking soda or baking powder for certain types of bread, such as soda bread.